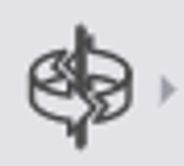
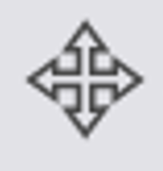
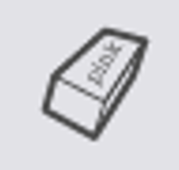
Move Tools: Identify the icon that represents the Scale tool in the image below.
Move Tools: Identify the icon that represents the Scale tool in the image below.
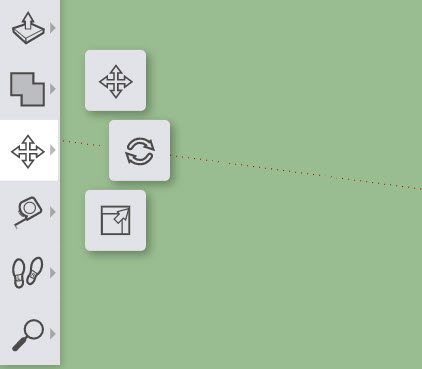
Explore and learn a variety of SketchUp's tools and features.
Sign in at SketchUp for Schools.
Create a new model.
Title your model so that it includes your name and this lesson's title.
Watch the video below and respond to the questions and prompts found in this Formative activity. As techniques are demonstrated, complete them in your own model. You will capture screenshots of your project and submit them at built-in checkpoints along the way. Pause and rewind as often as necessary.
Efficient strategies may include tab-hopping, side-by-side windows, using multiple screens/devices, etc.
The SketchUp interface includes a variety of menus and toolbars that provide access to its many tools and resources. You can find helpful reference documentation regarding each of the items in these menus at the very end of this Formative activity.
💾 Download your completed model as an SKP file and upload it here.
True or False: Changes made to a component group are automatically applied to all copies made of that component group.
Move Tools: Identify the icon that represents the Scale tool in the image below.
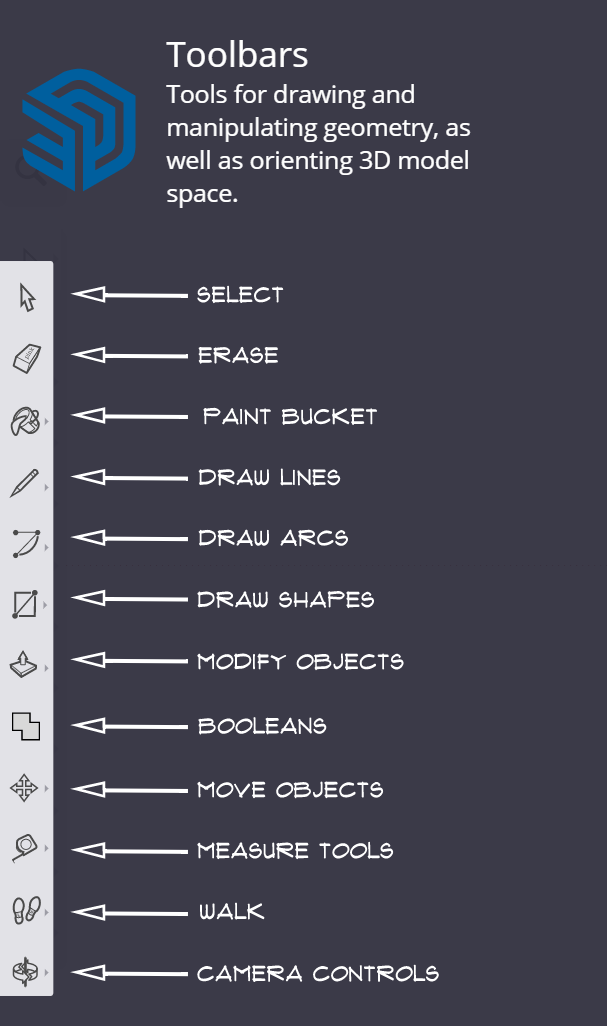
The Toolbar: Match each icon from the toolbar with the tool that it represents. You may need to zoom out to see all of the items. You can also place each item from the left column by selecting it (click it) then selecting (clicking on) the match for it in the right column.
| Draggable item | arrow_right_alt | Ade a ɛne no hyia |
|---|---|---|
| arrow_right_alt | Select | |
| arrow_right_alt | Erase | |
| arrow_right_alt | Paint Bucket | |
| arrow_right_alt | Move Objects | |
| arrow_right_alt | Draw Shapes | |
| arrow_right_alt | Measure Tools | |
| arrow_right_alt | Camera Controls | |
| arrow_right_alt | Draw Lines |
Which tool will reset the zoom level of your model back to its defaults?
This is the tool to use if you find that you have zoomed way too far in or out.
Camera Controls: Identify the icon that represents the Zoom Extents tool in the image below.
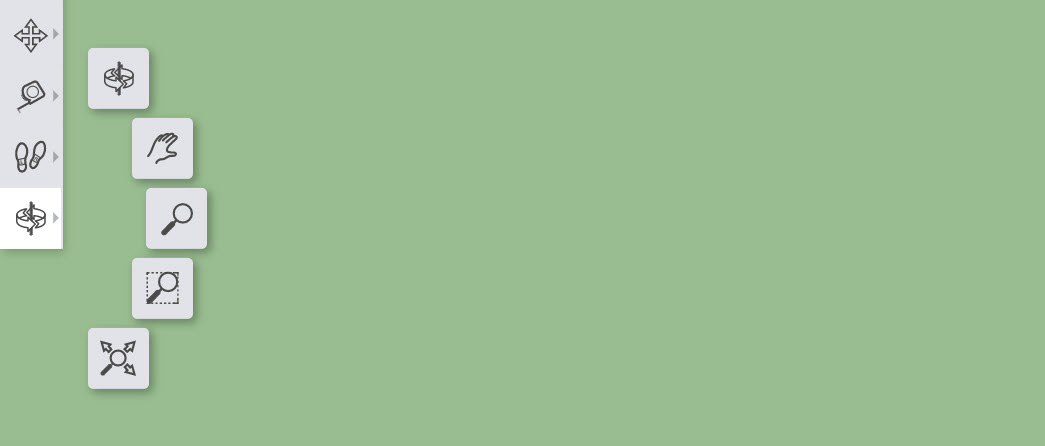
Camera Controls: Identify the icon that represents the Orbit tool in the image below.
Camera Controls: Identify the icon that represents the Zoom tool in the image below.
Camera Controls: Identify the icon that represents the Pan tool in the image below.
The panels include components, materials, and the instructor. By default, the panels can be found on the of the SketchUp screen.
True or False: You will need to click Save near the top left to save your project. It is recommended that you save often so you don't lose the progress you've made.
🧠 Retrieval Practice:
Summarize the content of this lesson. What topics, ideas, tools, and vocabulary were introduced?
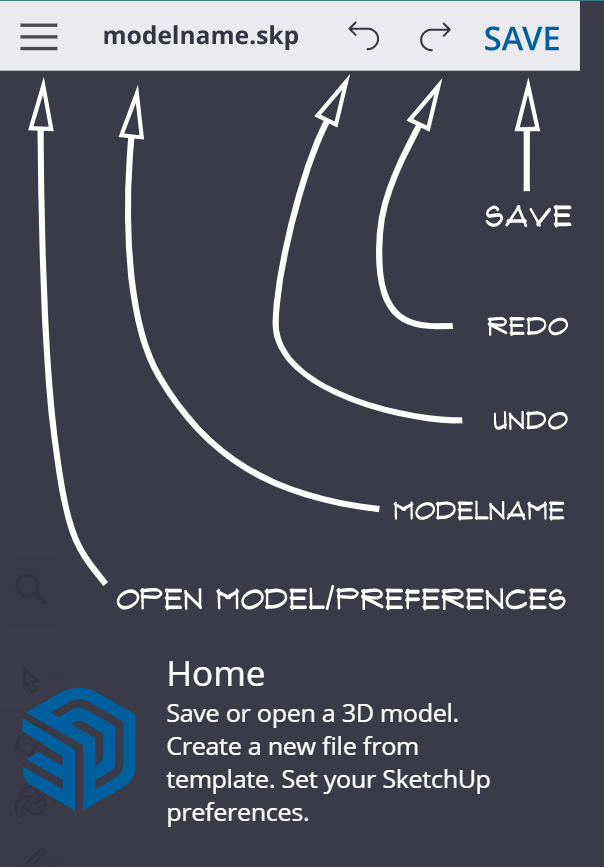
Home
Toolbars
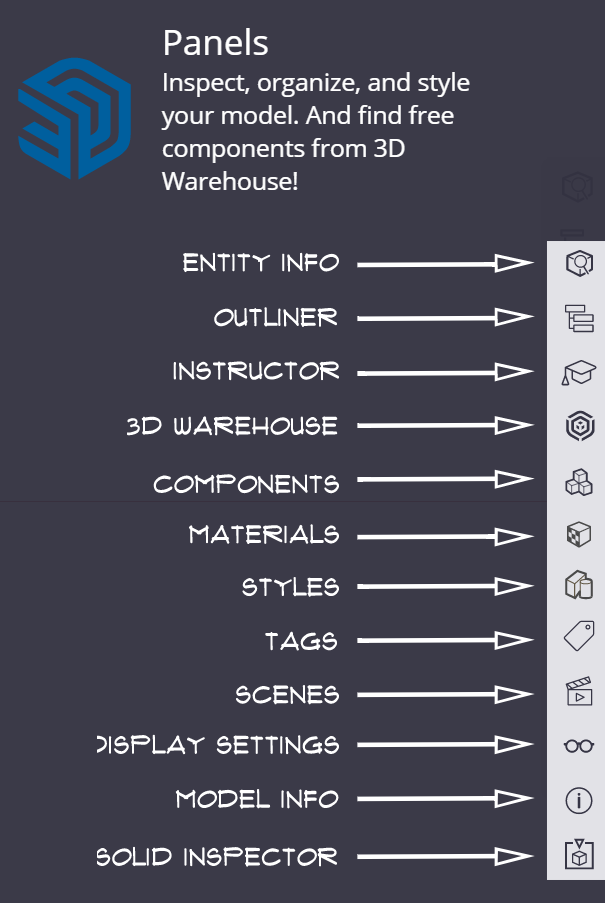
Panels
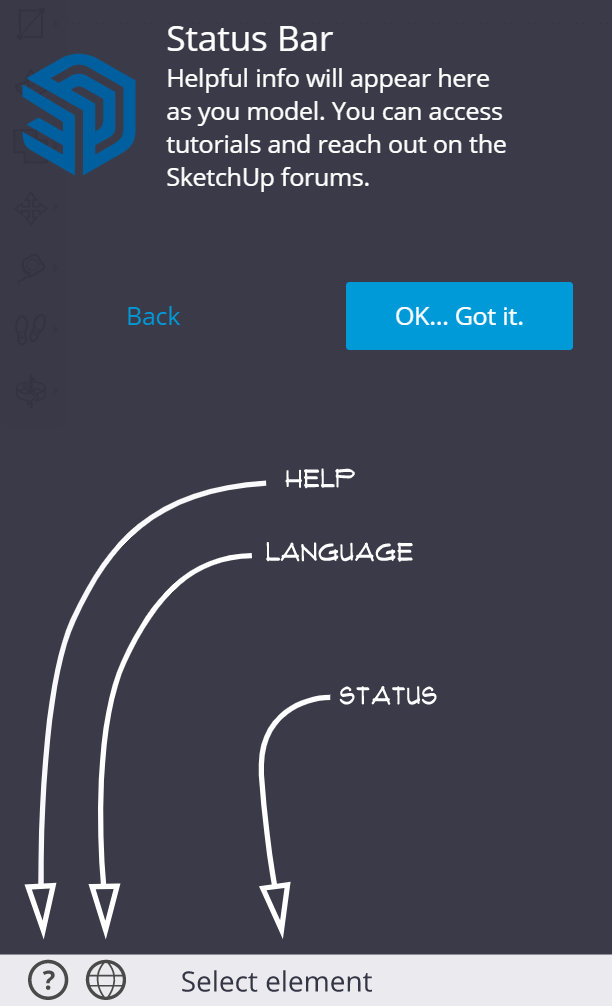
Status Bar
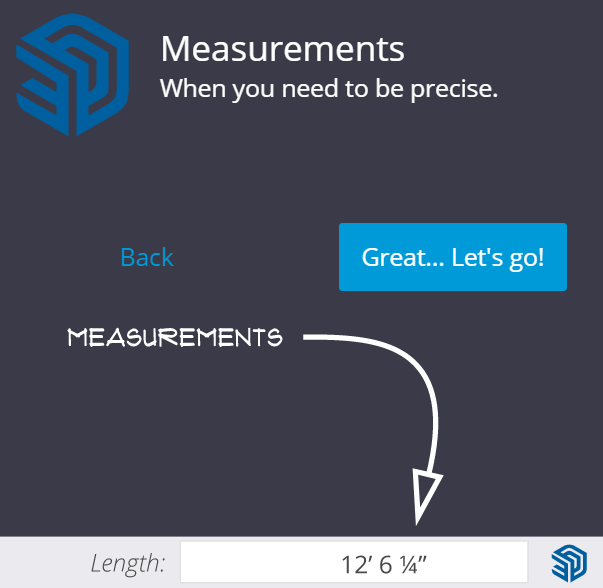
Measurements
Checkpoint: A 14"x48"x1" box
Establish an appropriate view of your recent progress and capture a screenshot.
Upload the screenshot to the Formative canvas and zoom and pan as needed.
Checkpoint: A chamfered edge
Establish an appropriate view of your recent progress and capture a screenshot.
Upload the screenshot to the Formative canvas and zoom and pan as needed.
Checkpoint: Levitating tabletop, 37" off the ground
Establish an appropriate view of your recent progress and capture a screenshot.
Upload the screenshot to the Formative canvas and zoom and pan as needed.
Checkpoint: A 2"x1" rectangle inset 1" in from each edge
Establish an appropriate view of your recent progress and capture a screenshot.
Upload the screenshot to the Formative canvas and zoom and pan as needed.
Checkpoint: A second leg, guided into place
Establish an appropriate view of your recent progress and capture a screenshot.
Upload the screenshot to the Formative canvas and zoom and pan as needed.
Checkpoint: Two angled leg components (in 1" at the base)
Establish an appropriate view of your recent progress and capture a screenshot.
Upload the screenshot to the Formative canvas and zoom and pan as needed.
Checkpoint: ½"x6" side support
Establish an appropriate view of your recent progress and capture a screenshot.
Upload the screenshot to the Formative canvas and zoom and pan as needed.
Checkpoint: A second pair of legs, not yet positioned correctly
Establish an appropriate view of your recent progress and capture a screenshot.
Upload the screenshot to the Formative canvas and zoom and pan as needed.
Checkpoint: Legs scaled through themselves to -1.00
Establish an appropriate view of your recent progress and capture a screenshot.
Upload the screenshot to the Formative canvas and zoom and pan as needed.
Checkpoint: Table front with a 1" guideline from bottom edge
Establish an appropriate view of your recent progress and capture a screenshot.
Upload the screenshot to the Formative canvas and zoom and pan as needed.
Checkpoint: Curved bottoms on front & back supports
Establish an appropriate view of your recent progress and capture a screenshot.
Upload the screenshot to the Formative canvas and zoom and pan as needed.
Checkpoint: A 3"x15"x1" chamfered drawer front
Establish an appropriate view of your recent progress and capture a screenshot.
Upload the screenshot to the Formative canvas and zoom and pan as needed.
Checkpoint: Two drawer fronts, positioned symmetrically, with matching drawer pulls
Establish an appropriate view of your recent progress and capture a screenshot.
Upload the screenshot to the Formative canvas and zoom and pan as needed.