This course includes resources provided by the following:
Joe Olayvar & Evelyn Lindberg in association with the Washington State Library
Carnegie Mellon Robotics Academy from Carnegie Mellon University
📕 Click here to access the LEGO Mindstorms EV3 Programming Basics document in its entirety.
▶️ Click here to access the entire LEGO Mindstorms EV3 YouTube playlist from the Washington State Library.
🎓 Click here to access the free online EV3 course from Carnegie Mellon University.
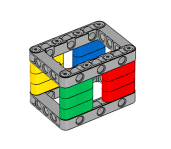
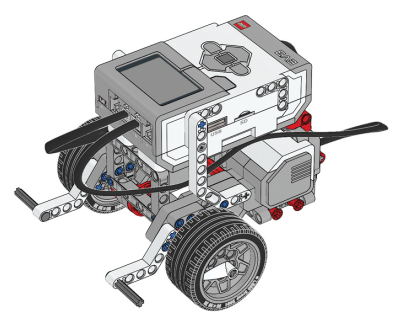
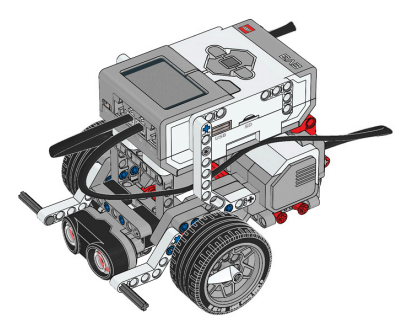
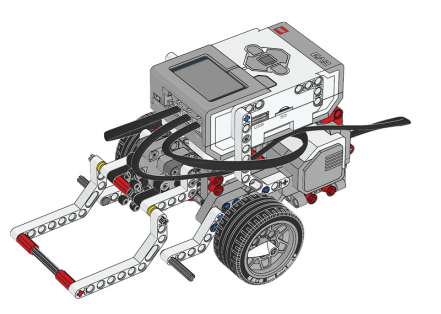
Before you continue, ensure that you have completed the following builds:
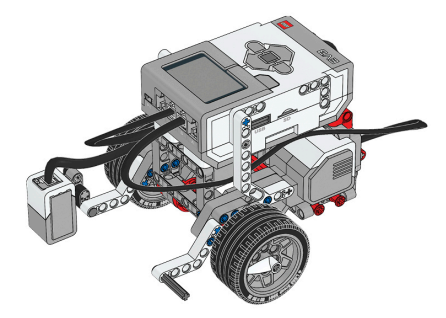
Color Sensor (aka Color Sensor Down)
Before continuing, ensure that you have added the following app to your Chromebook:
LEGO® MINDSTORMS® Education EV3
No Chromebook? No problem! Similar software is available for a variety of platforms. See the LEGO MINDSTORMS software downloads page for details.
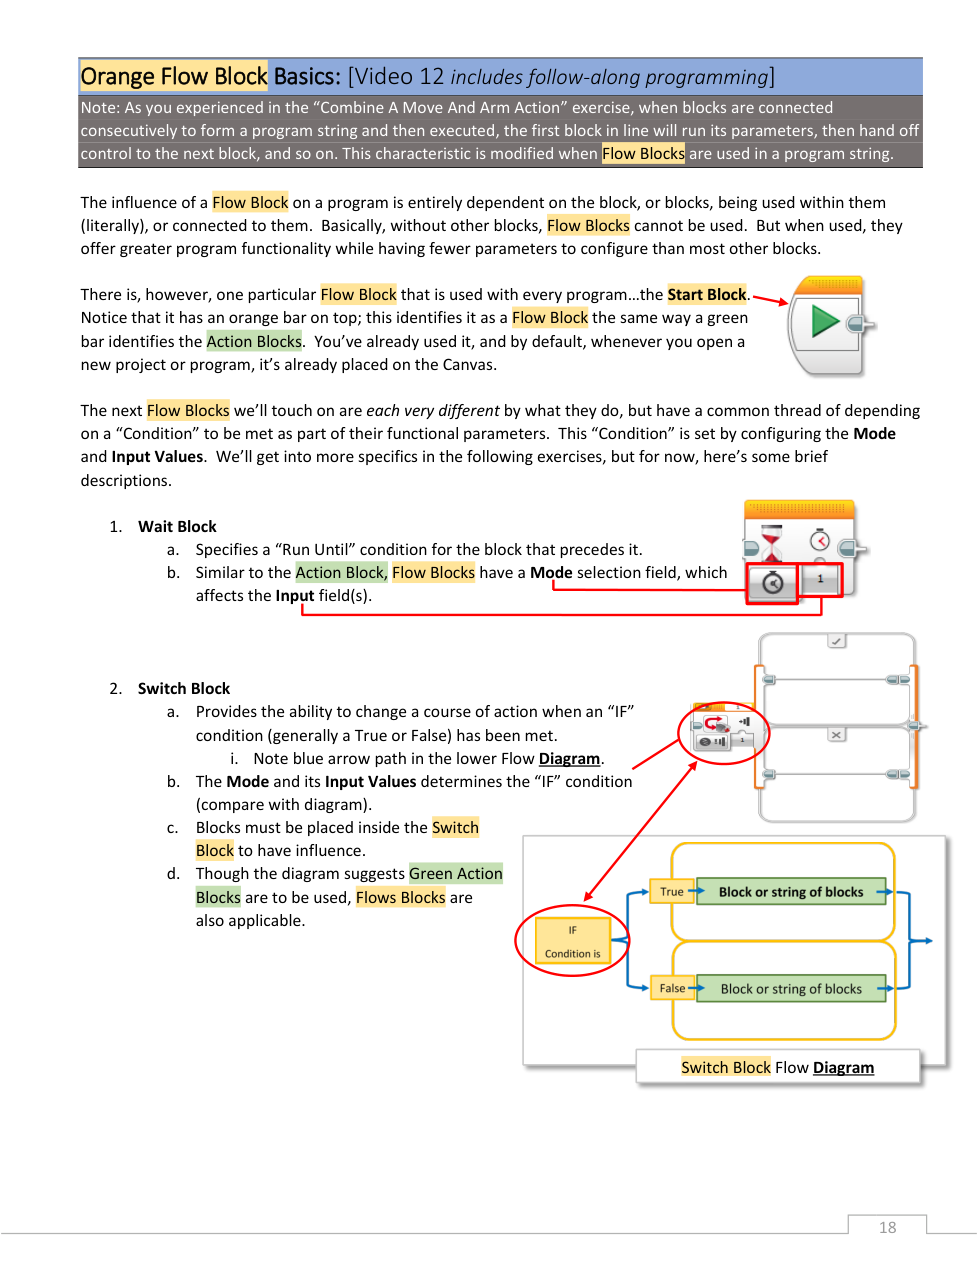
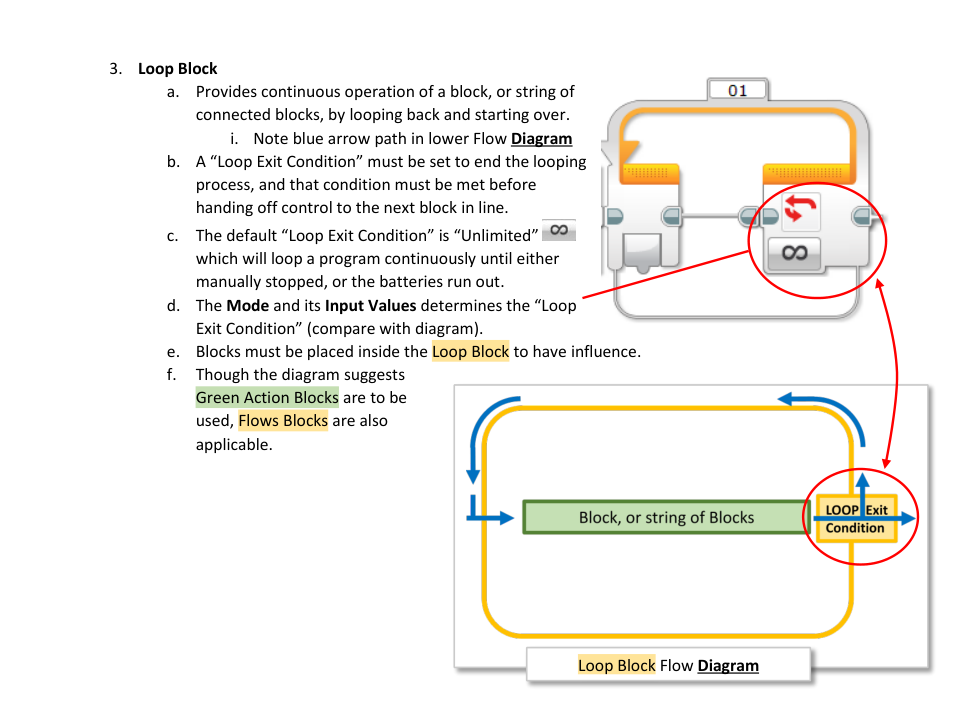
Match each flow block with its default mode.
| Draggable item | arrow_right_alt | Corresponding Item |
|---|---|---|
Switch | arrow_right_alt | Time |
Wait Block | arrow_right_alt | Unlimited |
Loop | arrow_right_alt | Touch Sensor |
"Basically, without other blocks,
Categorize each item based on the Flow Block(s) it describes.
Flow blocks and action blocks can be placed within this type of block.
Causes a program to change course when an "IF" condition is met.
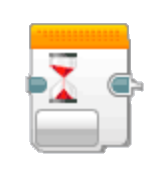
Causes a program to "run until" a specific condition is met.
Start Block
Wait Block
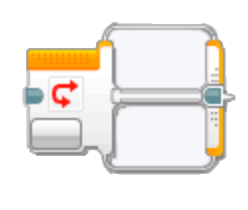
Switch Block
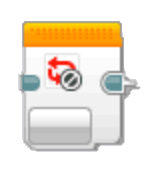
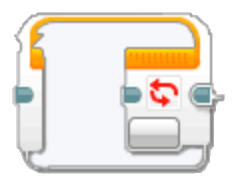
Loop Block
Loop Interrupt Block
Flow blocks increase program functionality and have parameters that most other blocks.
🧠 Retrieval Practice:
Summarize the content of this lesson. What topics, ideas, and vocabulary were introduced?
Flow blocks are basically useless without other blocks.
🖥️ Program It: Use your own programming software to link a Wait block to the Start block. Configure the Wait block as follows:
Mode: Color Sensor > Compare > Color
Port: 2
📸 Document It: Take a screenshot of your program and upload or paste it onto the Formative canvas.
🖥️ Program It: Use your own programming software to link a Wait block to the Start block. Configure the Wait block as follows:
Mode: Ultrasonic Sensor > Compare > Distance Centimeters
Port: 4
📸 Document It: Take a screenshot of your program and upload or paste it onto the Formative canvas.
🖥️ Program It: Use your own programming software to add a Steering block between the Start block and the Wait block. Configure them as follows:
Steering: Drive straight forward at power 50 indefinitely (no stop).
Wait: Until the color sensor senses the color of an available tape that contrasts with an available driving surface. (Example: blue tape on a white floor.)
📸 Document It: Take a screenshot of your program and upload or paste it onto the Formative canvas.
The of a flow block sets a condition that must be met before the program continues.
What is a loop exit condition?
🖥️ Program It: Use your own programming software to add a Loop to the Start block and a Steering block inside of the Loop block. Configure as follows:
Steering: Drive straight forward at power 30 indefinitely (no stop).
Loop: Set loop exit condition to color sensor senses red.
📸 Document It: Take a screenshot of your program and upload or paste it onto the Formative canvas.
🖥️ Program It: Use your own programming software to add a Switch block to the Start block and insert a Steering block to the true track and another Steering block to the false track within the Switch block. Configure them as follows:
Switch: Condition: Color sensor senses blue.
IF True: Drive straight forward for 2 rotations at power 30.
IF False: Turn right 90 degrees.
📸 Document It: Take a screenshot of your program and upload or paste it onto the Formative canvas.
💾 Keep this program for use again later in the lesson.
How do you think we can make this Switch block code run multiple times or continuously?
🖥️ Program It: Move your Switch block from before into a Loop block and configure the program as follows:
Loop: Exit condition: Ultrasonic Sensor: Senses distance
Switch True: Drive straight forward indefinitely (Mode: ON) at power 30.
Switch False: Drive straight backward indefinitely (Mode: ON) at power 10.
After Loop Exit: Add a Sound block to the right of the Loop block and configure it to play a sound.
📸 Document It: Take a screenshot of your program and upload or paste it onto the Formative canvas.